


DIY Planter Box Test
This DIY planter box blog was written by a paid contributor. All photos were taken by Brianna Colangelo.

Spring is officially here, which means rain showers and lots of flowers! I love finding new ways to freshen up my outdoor space with colorful flowers and plants, so I decided to make a cute DIY planter box to display them in.
After thinking through a few different planter box ideas, I chose to create a rustic DIY wooden planter box with concrete pavers. This stylish planter is both sturdy and waterproof thanks to Flex Seal products. I’m so happy with how it turned out!

This project is excellent for both beginners and seasoned pros alike. Want to know how to build a planter box of your own? Keep reading, and I’ll show you!
Find supplies for this project at the Home Depot.
Find supplies for this project at Walmart.

Find supplies for this project at Ace Hardware.
Find supplies for this project at Lowes.
Find supplies for this project at Menards.
Materials
● 4, 12 x 12 concrete pavers
● 2, 8-foot pieces of 2 x 2 lumber
● Circular saw (or hand saw)
● Power drill and 3/32 bit
● 1 Flex Glue 9oz cartridge, clear
● 1 Flex Shot can, clear
● 1 Flex Seal Liquid, clear
● Caulking gun
● Wood filler
● Sanding block or sandpaper (I used 180 and 220 grit)
● Paintbrush
● Wood stain of choice
● Rag
● Tape measurer
● Pencil
● Gloves
● Bungee cords or tie-down straps
● 3″ exterior deck screws
● Soil and plants of choice
Steps
1. Measure and Cut Wood
Note: Use caution when working with power tools and always follow manufacturer’s instructions.
Start by measuring your 2x2 lumber. For this project, you’ll need to cut eight, 12” long pieces and four, 16” long pieces. Once you have your measurements marked, use a circular saw to cut your pieces. After cutting, you should have 12 pieces of wood total.

Flexpert Tip: If you do not have a circular saw, you can use a hand saw.

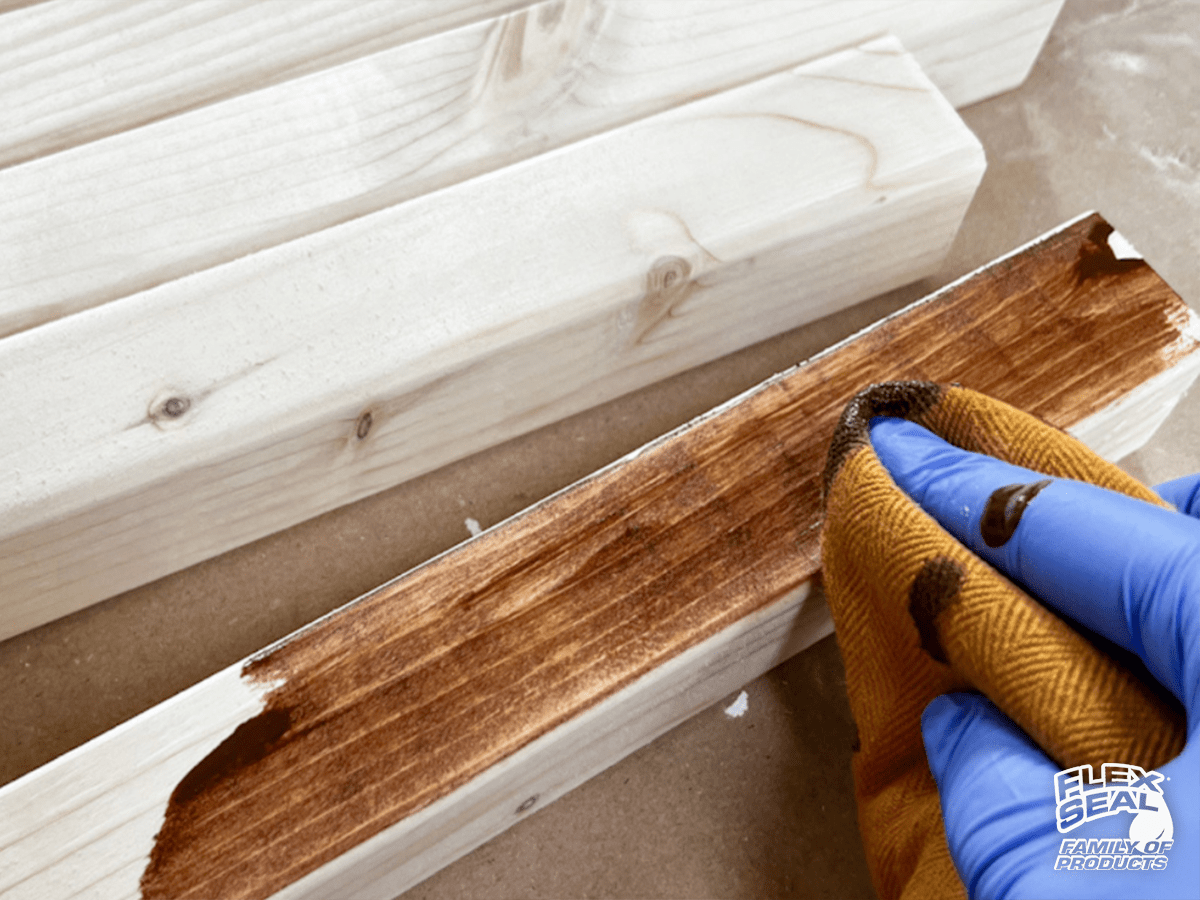
2. Sand and Stain Wood Pieces
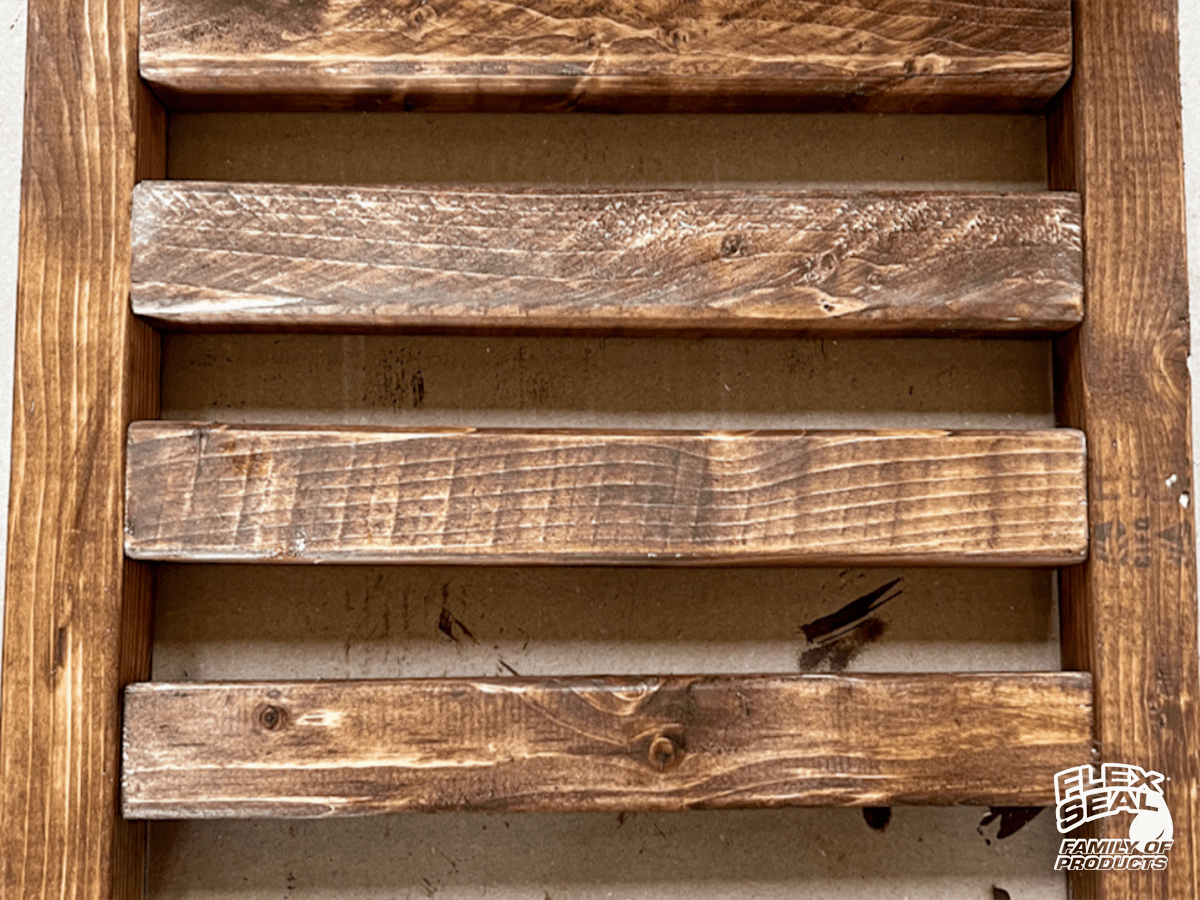
After cutting your wood into pieces, use a sanding block to get them nice and smooth. Once all four sides are sanded, it's time to stain.

I went with a dark brown stain, but I encourage you to get creative and choose the color that best fits your style! Use a rag to apply the stain and then wipe off any excess. Be sure to let the stain dry (at least 24 hours) before moving on to the next step.
3. Begin to Assemble
Once your beautifully stained wood is dry, it’s time to start piecing the DIY planter box together. First, take one concrete paver and lay it flat on the ground. Next, take two of the 16” wood pieces and place them on each side of the paver (left and right). Then, take one 12” piece of wood and put it on the bottom of the paver (in between the 16” pieces).
Note: The pavers should not be glued at this point; this is just a dry fit.

Once all three pieces are lined up, use your pencil to mark a spot on the side of the 16” piece where it meets the 12” piece and pre-drill a hole.
Flexpert Tip: Pre-drilling helps keep the wood from splitting.

Once your hole is pre-drilled, screw in one of your 3” deck screws. Repeat this on both sides to complete one side of the planter. You’ll then repeat all of step 3 again, to put together the other side of the planter.

4. Flex Glue the Concrete Pavers
Note: Before using Flex Seal products, make sure to read all directions carefully and take proper safety precautions, such as being in a well-ventilated area and wearing gloves while applying.
Now that you have both sides built (they should resemble a U), take all four pavers and stand them up to form a box. Apply Flex Glue to the top and sides of the two pavers across from each other.

Take the wooden frames and slide them on top of the two pavers that you applied Flex Glue to.

Next, add Flex Glue to the top and sides of the remaining two pavers and push the sides together to form a closed box.
5. Add the Remaining Supports and Bottom of the Planter
Now it’s time to add the remaining 12” wood pieces to create the bottom of the planter. Place two of the pieces vertically, and four of them horizontally between the vertical boards. The width of this will be 16”. Predrill the sides of the 16” pieces where they meet the 12” pieces and use a 3” screw to attach each 12” piece to the 16” piece (eight screws in total).
Next, place this piece onto the remaining pavers with Flex Glue and press down. To further secure the wood, repeat the same process you used for assembling the walls (pre-drill the connection points and use 3” screws to attach.)

Flexpert Tip: Since this screw will intersect with the one already in place, be sure to insert it slightly above the previous screw.
Once everything is assembled, allow 24 hours for the Flex Glue to fully dry. To ensure a tight hold, use bungee cords or tie-downs to squeeze the top of the planter together. There are no screws at the top of this DIY planter box, so tie-downs will act as a clamp while the Flex Glue dries.
Note: The bottom doesn’t need tie-downs, but I chose to add them for extra security.

6. Seal the Inside Corners With Flex Shot
Now that the Flex Glue has dried for 24 hours, remove the tie downs and flip your planter upright. Apply Flex Shot to seal the inside corners of the planter.

Flexpert Tip: After applying Flex Shot, smooth it out with your finger or a paper towel and wipe away any excess.
7. Apply Flex Seal Liquid
Now it’s time to waterproof the outside of your planter with Flex Seal Liquid. While concrete pavers are meant for the outdoors, I chose to seal them along with the wood to protect them from the elements. Use a paintbrush to apply the product to the outside of your DIY Planter Box, and make sure to allow 24 hours of dry time before moving on to the next step.

8. Add Soil and Plants
The final (and most gratifying) step is to add soil and flowers to your new DIY planter box.
I’m in love with how this planter project turned out! It’s so versatile as it can be displayed indoors or out and will look great with all types of plants. As soon as the temperatures warm up a bit more, I’ll be proudly displaying this on my front porch!

By Brianna Colangelo
Hi, I’m Bri, and I am a self-taught DIYer. I have been DIYing since I was little, and it has always been a passion of mine. Since buying our 1958 cape home one year ago, I have been slowly transforming each room in our house. I also share my designs and DIY projects as a content creator on Instagram and TikTok @d.i.y.bri.
Want to See More Ways DIYers Use Flex Seal Products? Read On:
• How To Make DIY Outdoor Tables Using Flex Paste
• DIY Home Office Desk With Flex Glue
• 5 Ways to Use Flex Seal for RV Maintenance and Repair


