


5 Ways To Use Flex Seal for RV Maintenance and Repair
This RV maintenance checklist and repair blog was written by a paid contributor. All photos were taken by Melanie Snavely.
RV maintenance is a huge part of my family’s regular routine.
As full-time RVers, our camper is our home; we work from it, sleep in it, and cook meals in the kitchen. It’s our shelter from the elements. And we depend on it to get us from point A to point B. That’s why staying on top of repairs is such a big deal to us.
Whether you use an RV for fun getaways or call it your home, proper maintenance is an essential part of ownership. My husband Andrew and I discovered how RV-friendly Flex Seal products could be pretty early into our road-tripping journey. We’ve successfully used them for many fixes over the years.
Read on to learn five ways we’ve utilized Flex Seal products for RV maintenance and repair.

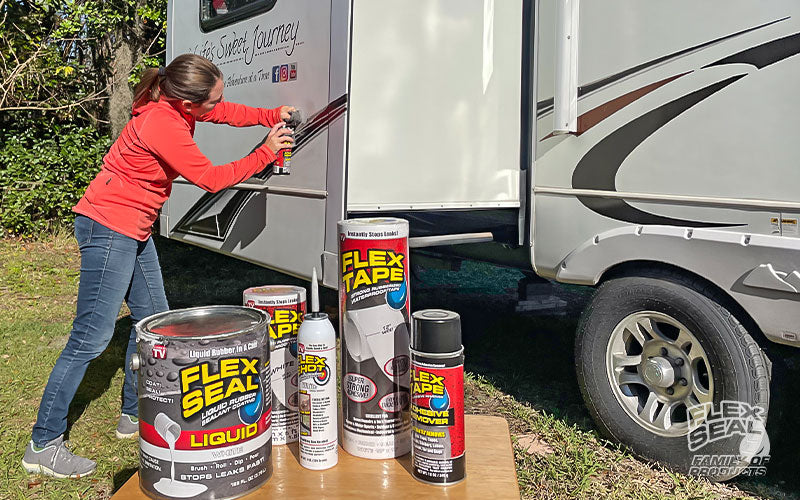
Flex Seal Products ready to make some repairs! Photo by Melanie Snavely.
Jump To:
1. Mending Siding With Flex Tape
2. Caulking the Shower Lining With Flex Shot
3. Patching Roof Leaks and Skylight Covers With Flex Tape
4. Resealing Your RV Roof to Prevent Leaks With Flex Seal Liquid
5. Removing Old Decals With Flex Adhesive Remover
✔ Monthly RV Maintenance Checklist
1. Mending Siding With Flex Tape
Flex Tape was the first Flex Seal product we tried after accidentally hitting the electrical box at a campsite. One wrong turn in a tight space caused a deep tear through the siding of our RV. I won’t lie, we had an initial moment of panic.
Our camper is a 34ft fiberglass 5th wheel, which means we can’t just replace a panel. We didn’t want to deal with a costly replacement of the entire backside or the hassle of leaving our home at a shop, so we searched for an alternative. Luckily, we found Flex Tape!

Flex Tape covering RV siding damage. Photo by Melanie Snavely.
The damage was on the backside of our RV just under the taillight. It was about 12 inches long and relatively wide. We cut a piece of white Flex Tape, leaving plenty of extra tape on either end to get good coverage over the gash. To our delight, it bonded seamlessly!
That same piece of Flex Tape has been holding strong for the past three years through all kinds of elements, which has made us happy campers!
2. Caulking the Shower Lining With Flex Shot

Flex Shot ready to do some caulking. Photo by Melanie Snavely.
Our shower caulking had started to pull away from the shower wall and began flaking in places. Unfortunately, this caused moisture to get in, leading to mold and hard water buildup. We knew it was time to re-caulk our shower, so we prepared the area.
We started by spraying Flex Seal Adhesive Remover to help remove the remainder of the old caulk and then cleaned and dried the area. From there, it was time to break out the Flex Shot!
Flex Shot is great because you don’t need a caulking gun to use it. By simply cutting off the tip and pressing the nozzle, we got a smooth bead of rubberized caulk down the length of the shower. Flex Shot is so user-friendly that we finished the entire project in under 30 minutes!
Flexpert Tip: Flex Shot dries quickly, so make sure to smooth it out within a few minutes of application, if needed.
3. Patching Roof Leaks and Skylight Covers With Flex Tape

Andrew applying Flex Tape to our broken skylight. Photo by Melanie Snavely.
The roof of an RV is an area where you should always check for issues. The sun beats down on it, trees can cause scrapes, and it begins to wear down from the elements over time.
Plastic skylight covers are no exception to this rule, but we found that Flex Tape is the perfect product for patching plastic covers and any holes in the RV roofing.
Our RV is ten years old, and the skylight covers became so brittle that any pressure on them would cause a hole. One morning, Andrew barely touched the skylight, and his finger went straight through. We grabbed our handy dandy Flex Tape, slapped it on, and problem solved! The tape continues to withstand multiple rainstorms with no leak issues.
Note: Flex Tape may not be compatible with certain types of plastic surfaces, so it’s always a good idea to test the area first.
4. Resealing Your RV Roof to Prevent Leaks With Flex Seal Liquid

Andrew is excited to seal our RV roof. Photo by Melanie Snavely.
The last thing you want is water getting under your RV roofing, as that can lead to roof leaks, water damage, and mold. When our old roof became porous, we were concerned about water seeping through it and decided to do a full reseal with Flex Seal Liquid.

Andrew pouring Flex Seal Liquid. Photo by Melanie Snavely.
First, we cleaned all the dirt from the roof, including the roofing of our slides. Once the roof was completely dry, we applied a thick coat of the Flex Seal Liquid using brushes and rollers.
Although this was our most extensive RV repair, it has also given us the most peace of mind. We are now a year into the new roof and are happy to report that we haven’t experienced any RV roof leaks or issues! Being UV resistant, Flex Seal Liquid is a great option to weatherize and seal your RV roof. The water rolls right off it and it’s easier to clean.
Flexpert Tip: The rubberized coating can make your roof slightly slick when wet. Be mindful when cleaning the roof or walking on it while wet, as it may be slippery.
5. Removing Old Decals With Flex Adhesive Remover
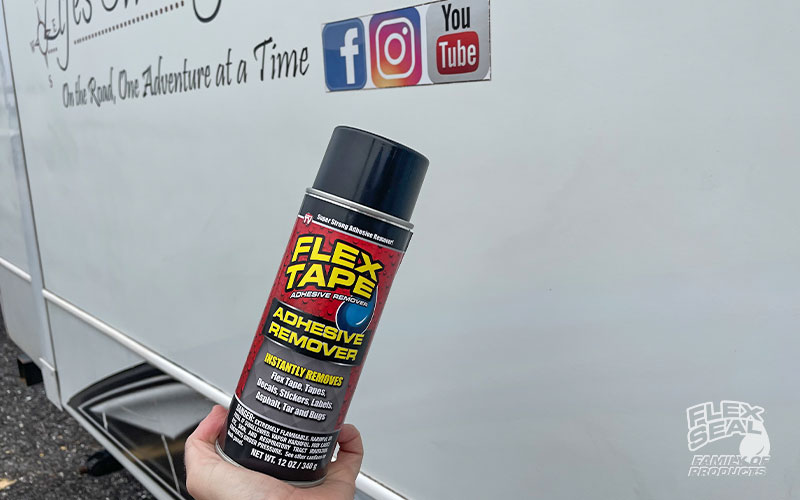
Flex Adhesive Remover. Photo by Melanie Snavely.
After years of adventures, many of our decals on the RV have started to flake and peel.
Flex Adhesive Remover is meant to remove Flex Tape when needed but is also a HUGE help with removing decals and bumper stickers from an RV. This process would have been quite frustrating and time-consuming without it.
Removing decals with Flex Seal Adhesive Remover. Photo by Melanie Snavely.
Flexpert Tip: Test the area first! The adhesive remover works great on fiberglass siding but should not be used on painted surfaces unless you plan to repaint after.
It’s important to note that each repair will be unique to your RV. These things work for us, but you’ll need to consider many factors before making your repairs, like what material you are adhering Flex Seal products to and how big the problem area is. Assessing each project and testing prior can help you make the best choices for your RV maintenance and repair journey.
Monthly RV Maintenance Checklist
Whether you’re on the road full-time or a weekend warrior, you still need to prioritize upkeep. Below is an RV maintenance checklist for things we take care of monthly to cover our bases. Keep in mind that additional items should be checked annually and before any big trip, such as the tires and brake systems.
● Inspect the roof
● Check slide seals and weatherstripping
● Lubricate slide mechanism
● Check the piping for leaks
● Clean A/C vents
● Test safety equipment
● Cover any exposed wiring
● Inspect window and door seals and seams
● Look for any loose items
● Glance over siding to look for warping or cracks
● Test all lighting
RV maintenance and repair are a crucial part of owning any recreational vehicle. Camping is fun, but it also needs to be safe. Having products that we can trust to help us maintain our RV takes a load off our minds while on the road. For us, Flex Seal and RVing just go hand-in-hand!
By Melanie Snavely
Melanie is the writer and content producer for Life’s Sweet Journey. Her husband, Andrew, is along for the ride and makes cameos when things get technical. They have been across the country and back again, living in their 34ft Keystone Cougar for the past 3+ years. They share their travels, love for local restaurants and breweries, and any RV mishaps that happen along the way. You can find them on YouTube and Instagram at Life’s Sweet Journey.


