


Easy DIY Valentine’s Day Tree Craft
This Valentine's Day Tree blog was written by a paid contributor. All photos were taken by Briana Colangelo.
Love is in the air, and it’s also written all over this adorable DIY Valentine’s Day tree! If you’re looking for a fun and easy Valentine’s Day craft that the whole family can enjoy, this may just be the one for you.
My daughter and I love making all kinds of crafts together, but Valentine’s Day crafts are extra special to us because she was born the day before the holiday. This year, I wanted to create an easy Valentine’s Day craft that was both fun for kids and something that could be displayed for years to come. Since this holiday is all about love, I thought it would be fitting to make a Valentine’s Day “love tree.” The idea is that you and your family can write all the things that you love onto little hearts and display them on a tree for all to see.
Keep reading and I’ll show you exactly how I brought this lovely Valentine’s Day craft idea to life, with the help of red and white Flex Seal!
Materials
● 1 faux branch tree
● 20, 1.5” wooden hearts
● Pot for tree
● Styrofoam block
● 1 Flex Seal can, red
● 1 Flex Seal can, white
● 1 spool of twine string
● Permanent marker
● Drill with 1/8” drill bit
● Scissors
● Optional materials include: Faux moss, large cardboard box, 3” chalkboard heart, white chalkboard marker

Steps
1. Spray the Hearts
The first step for this craft was to add some color to the wooden hearts with Flex Seal.
Before using Flex Seal, make sure to read all directions and take proper safety precautions, such as being in a well-ventilated area and wearing gloves and protective eyewear while applying.
Place the hearts into a large cardboard box to prevent overspray and use a sweeping motion to spray 10 of the hearts with Flex Seal Red and the other 10 with Flex Seal white.

Flexpert Tip: Be sure to give your hearts 2-3 hours to become dry to the touch before flipping them over to spray the other side. After both sides are sprayed, let them dry for a full 24 hours before moving on to the next step.
2. Drill the Holes
Note: Use caution when working with power tools and always follow manufacturer’s instructions.
Once your hearts are dry, it’s time to drill holes through them. This will create a space to tie the twine onto them. I am using a 1/8” drill bit, which will allow enough room for the twine to go through.
Flexpert Tip: These wooden hearts are fragile, and nobody wants a broken heart on Valentine’s Day, so it’s important to be extra careful and drill slowly!


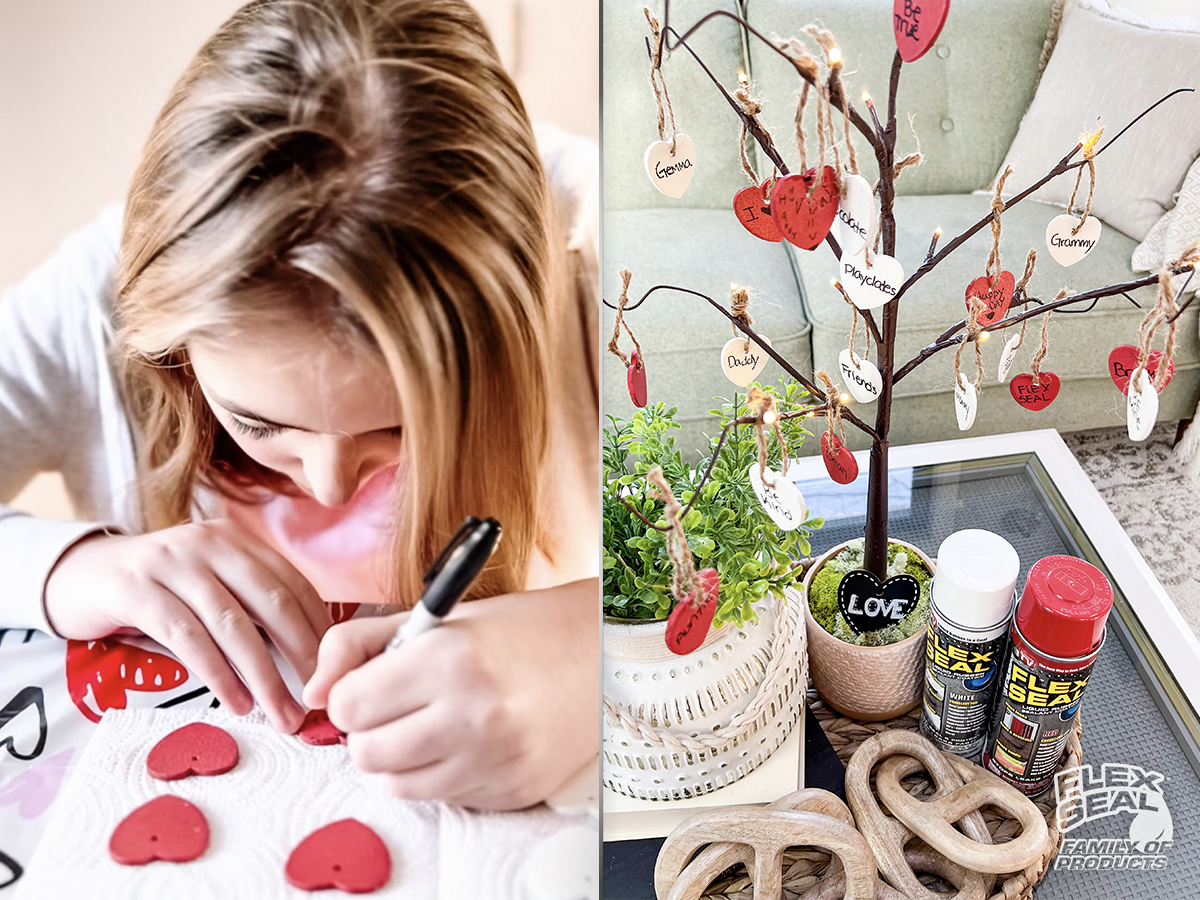
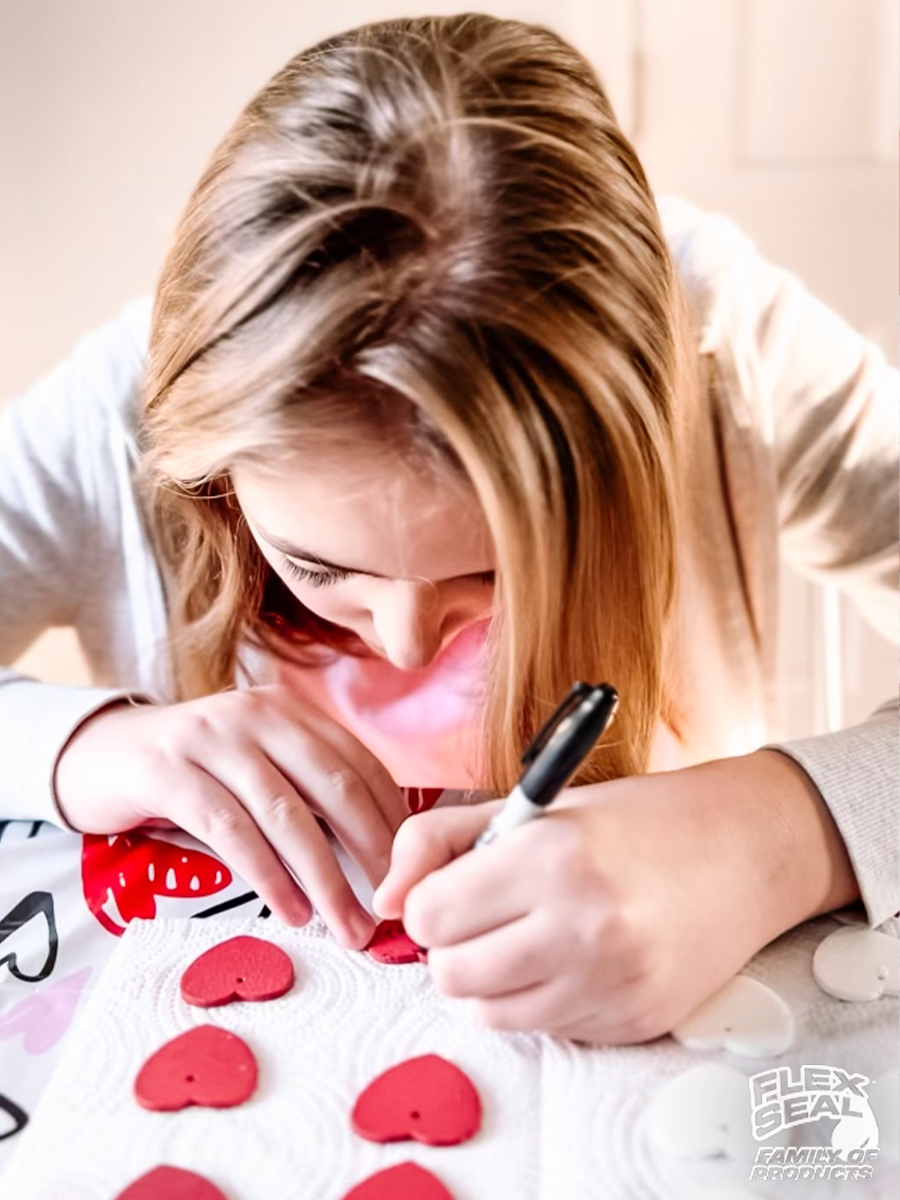
3. Write on the Hearts
I found this next step to be the most fun part of the entire craft! Using a permanent marker, gather your family and write down anything you love onto the hearts. It could be people, places, pets, or food (tacos, anyone?!). You can even choose to write some love notes. We did a little bit of everything, and it turned out great.
4. Secure Your Tree in Planter Pot
This step may not be required since some faux branch trees already come attached to a planter pot. However, the one I chose needed a planter and some styrofoam. Place the styrofoam to fit the bottom of your planter and stick the faux tree into the styrofoam.
Make sure to build up the styrofoam around the branch until you have reached the top of the planter. You can stop here, but I recommend adding some moss onto of the top of the styrofoam to give your tree a more finished look.

5. Add the Hanging Hearts
For this last step, use your scissors to cut off a piece of twine and slide it through the drilled hole, making a knot at the end to create a loop. Repeat this process for each wooden heart.

Once every heart has a twine loop, it’s time to proclaim your love by placing them on the branches. Now your love-filled tree is ready to be displayed!

I am so thrilled with how this DIY Valentine’s Day tree turned out! It was so much fun to make, and I especially love the idea that you can add more hearts throughout the years. This was a super easy Valentine’s Day craft thanks to Flex Seal, and I hope you feel inspired to make your own love tree craft with your family this year!
By Briana Colangelo
Bri is a self-taught DIYer, who's had a passion for DIY projects since a young age. After buying a 1958 cape home, she has been slowly transforming each room in her house. Bri also shares her designs and DIY projects as a content creator on Instagram and TikTok @d.i.y.bri.


