The video demonstrates repairing a torn membrane on an RV slide-out roof that was damaged by a tree branch. The tear exposed raw wood underneath, creating a serious water damage risk that needed immediate attention.
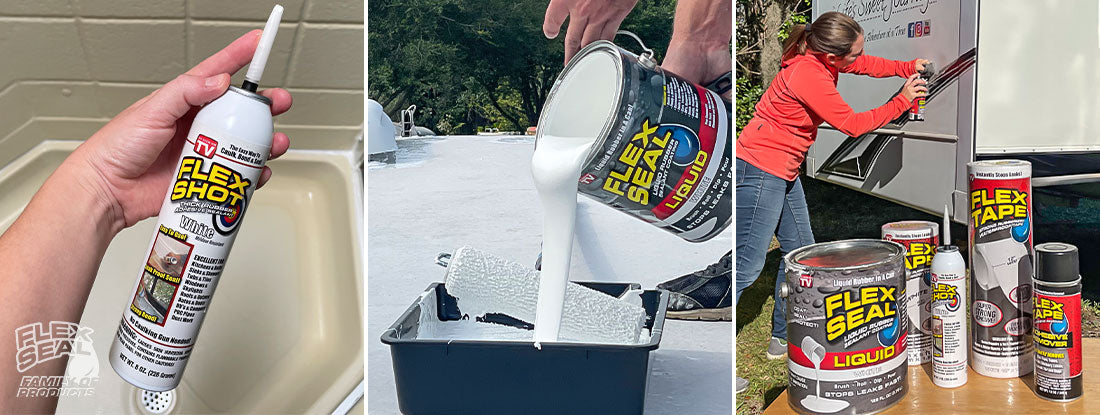
The Repair Strategy: A triple-layer repair system using Flex Glue, Flex Tape (8-inch), and Flex Liquid to ensure a permanent, waterproof seal.
Step-by-Step Process:
- Clean the surface - Remove loose debris from the damaged area (doesn't need to be sparkling clean)
- Apply Flex Glue - Create a barrier around the entire perimeter of the damage, then glue down the torn flap. Use a putty knife to press it into place. The rubberized glue has instant grab and creates the first layer of protection
- Measure and cut Flex Tape - Measure the damage area and cut 8-inch Flex Tape to size (note: use a razor knife on a wood backer, not scissors, as the thick adhesive will gum up scissors). Use a blade to lift the liner corner for easier removal
- Apply Flex Tape - Align the bottom first, press down one end, then pull slightly for tension and lay down evenly. Use the tape roll to apply pressure and eliminate air bubbles. Pay special attention to corners where water runs off
- Apply Flex Seal Liquid - Before opening the container, use a chip brush to clear product from the cap groove for future use. Brush liquid into corners and edges of the tape first (cutting in), then roll it over the entire repair area to seal everything together
Important Notes:
- Do not retract the slide-out until the Flex Liquid is fully cured (wait at least 24 hours)
- The triple-layer system (glue, tape, liquid) creates redundancy to prevent future leaks
- Regular maintenance is key - the main RV roof was also treated with Flex Seal Liquid 1.5-2 years ago and has remained leak-free since
Result: A permanent, waterproof repair that will outlast the original materials.
Back to VL-RV