


FLEX SEAL® EPOXIES
The Ultimate in Extreme Bonding.
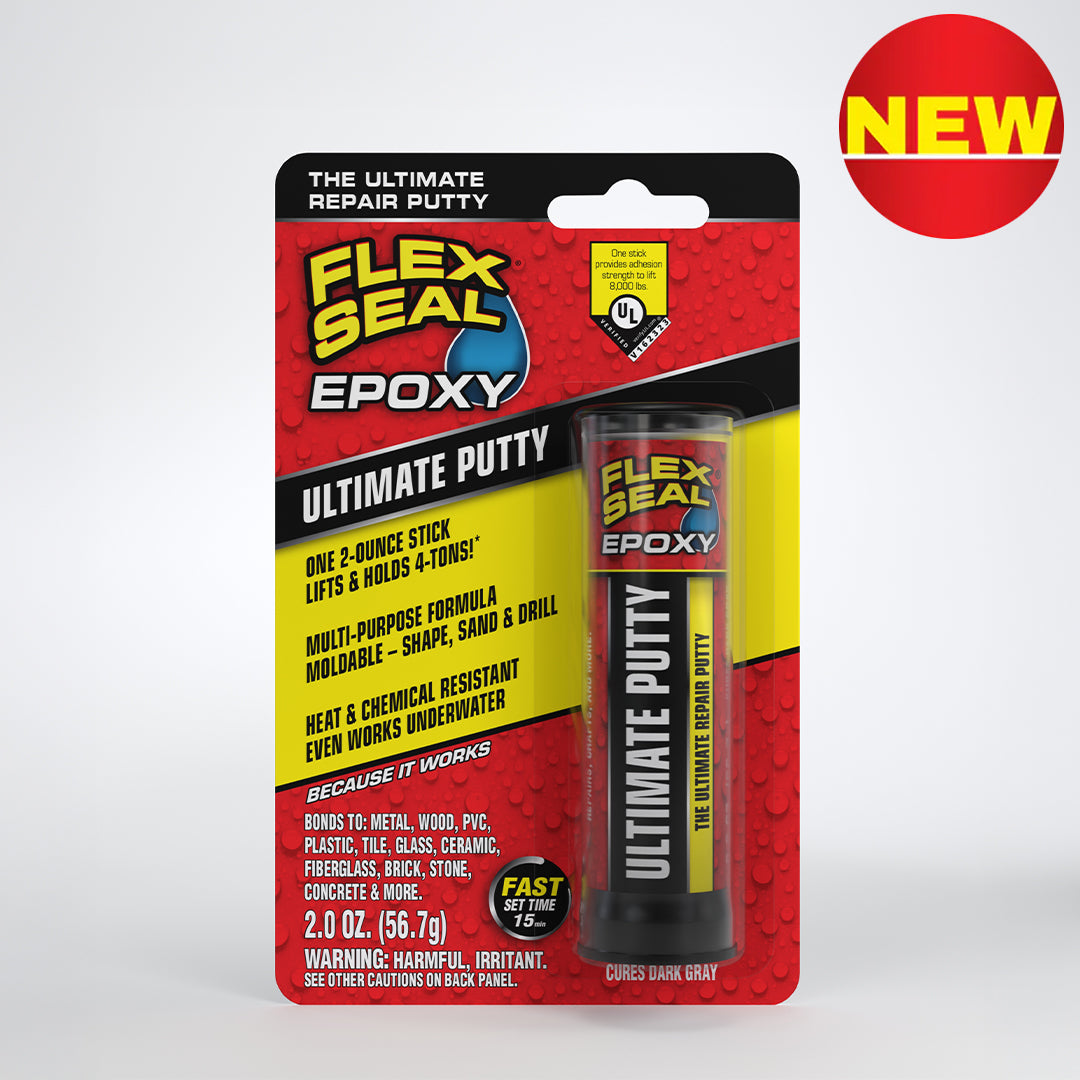
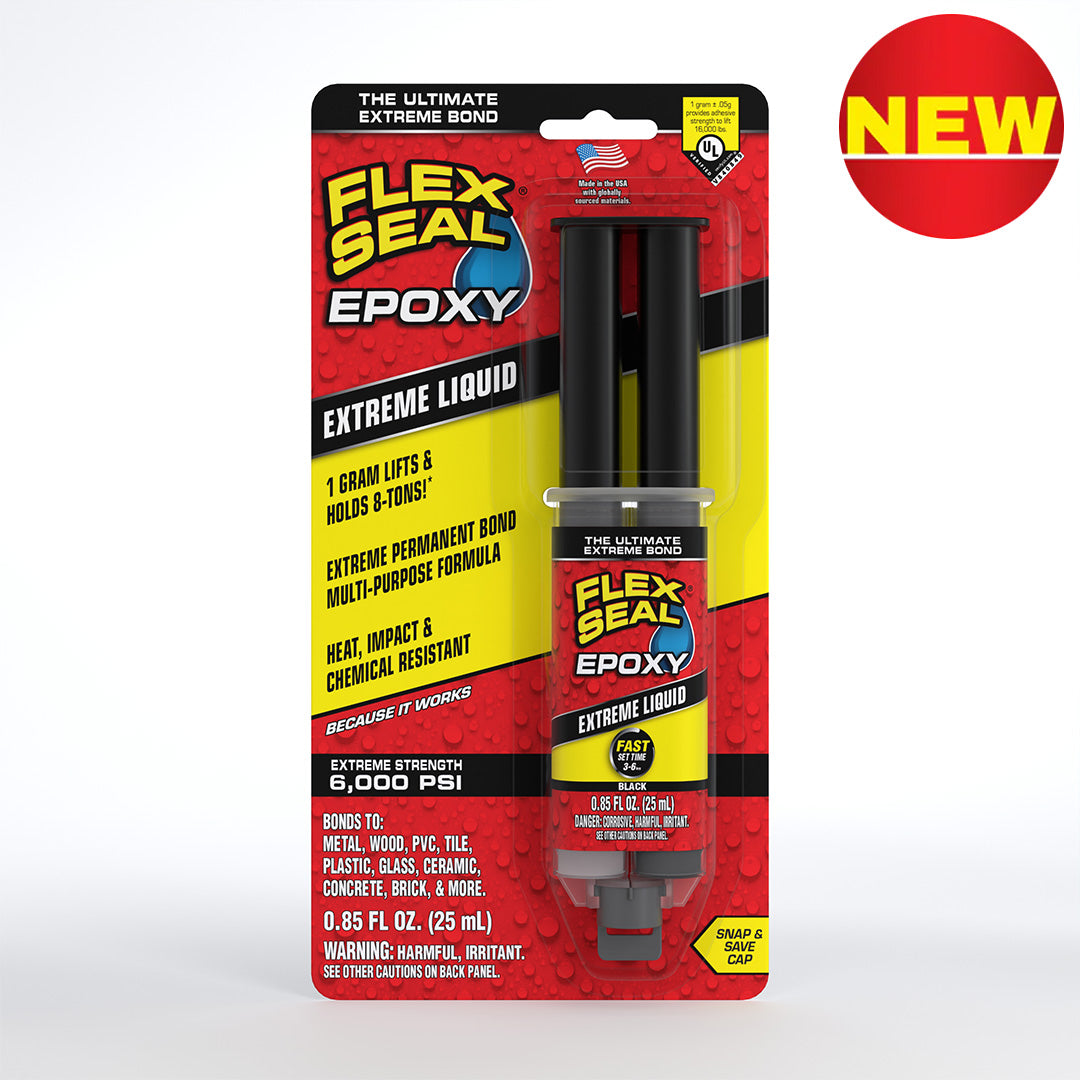
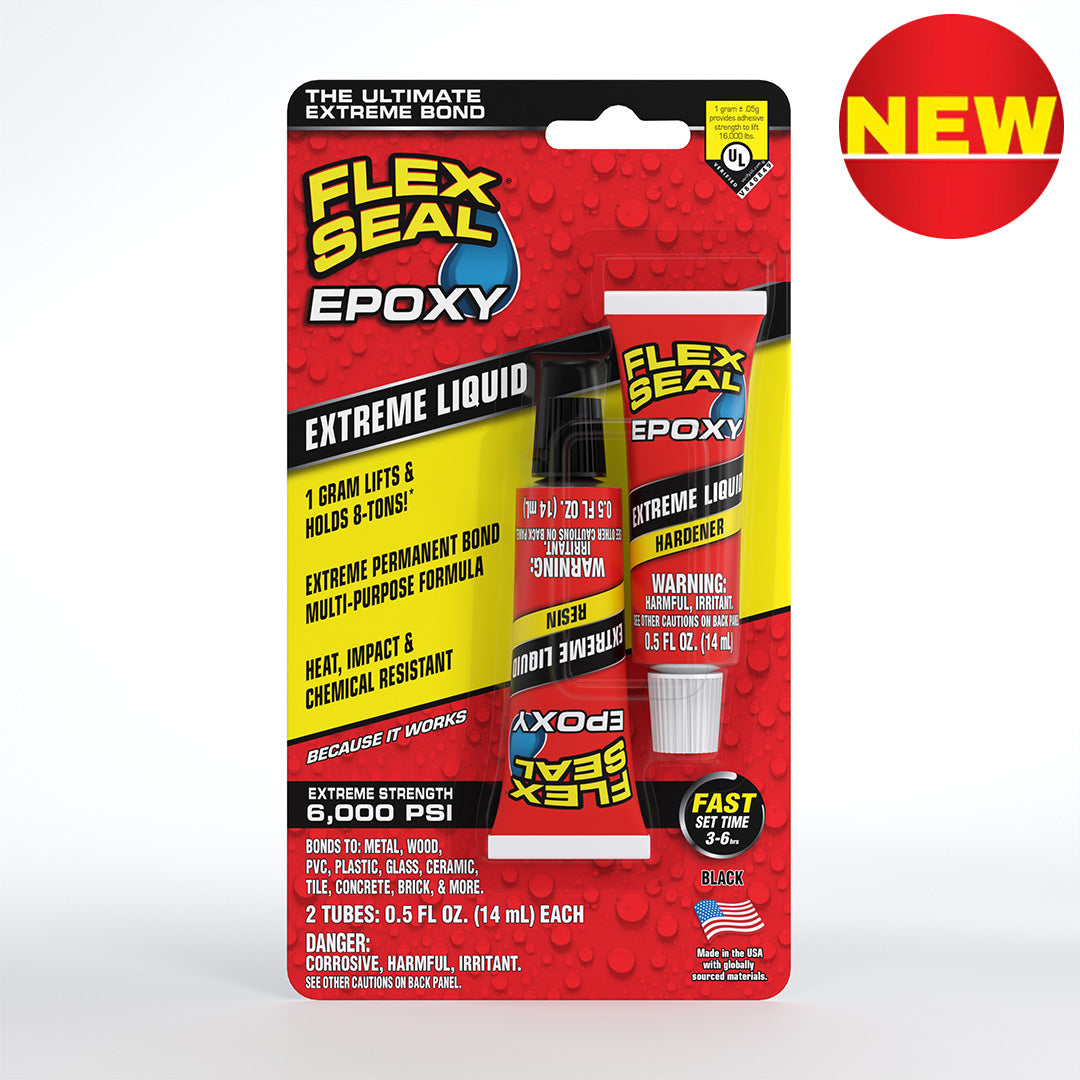
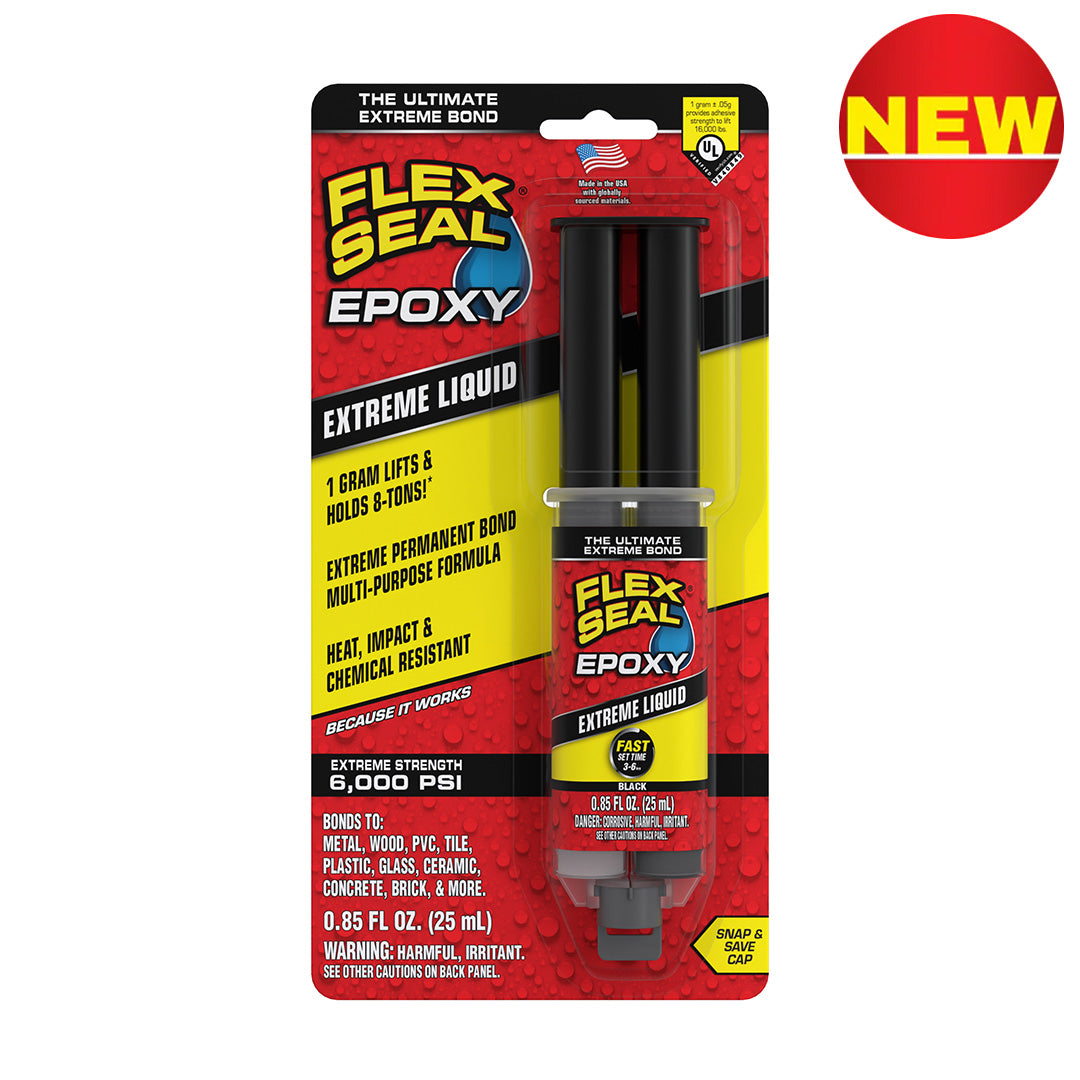
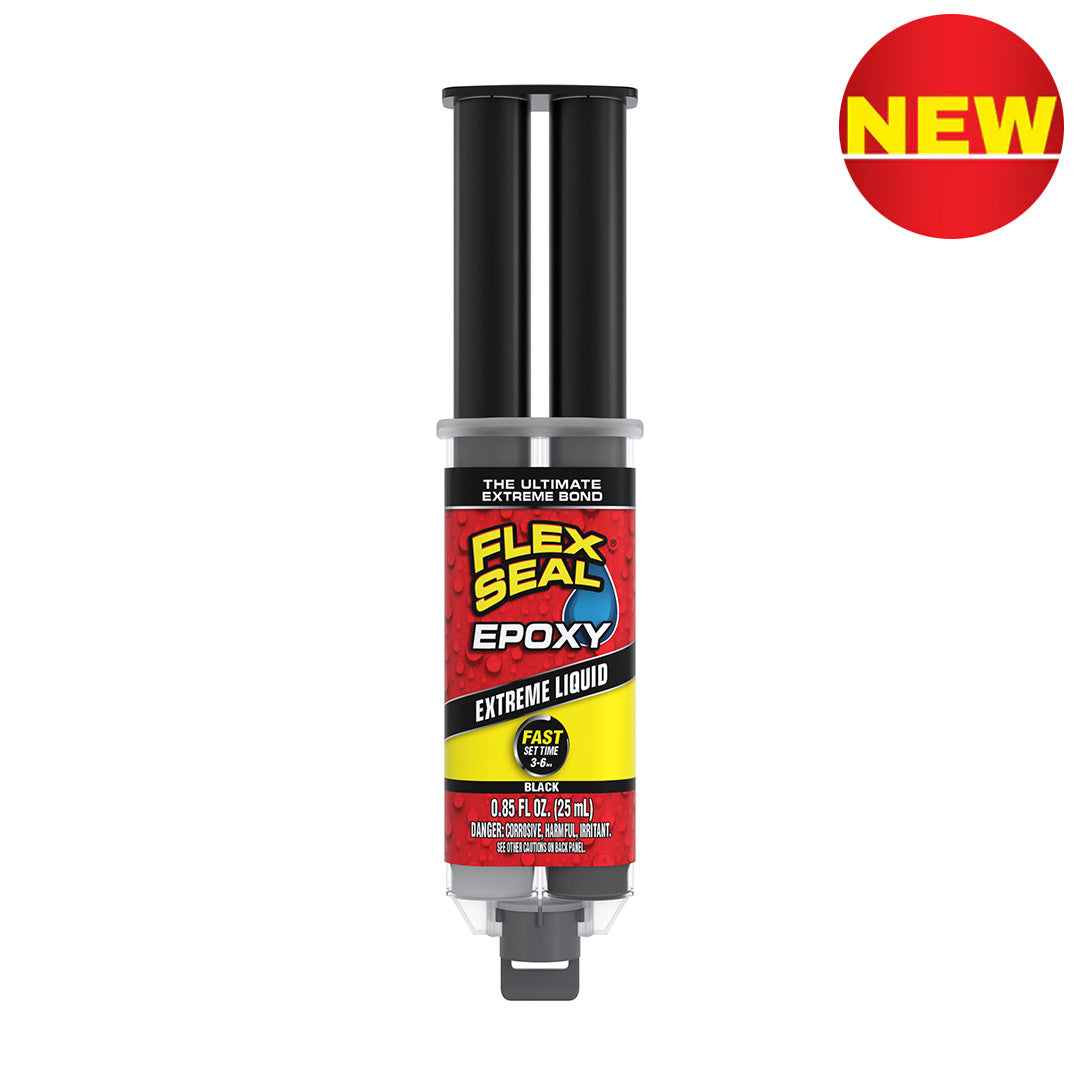
Our Extreme Liquid and Ultimate Putty are two-part epoxies that deliver extraordinary strength and unmatched versatility with their multi-purpose formulas. Just one gram of our Extreme Liquid can lift and hold up to 8 tons*, while our Ultimate Putty creates a bond that can lift and hold up to 4 tons*. Both form an incredibly strong bond on virtually any material. From heavy-duty repairs to precision fixes, Flex Seal Epoxies create a durable, permanent bond you can rely on for your toughest jobs.
- Extreme bonding strength of 6,000 PSI (Liquid).
- Easy to use – simple to mix and apply for quick, reliable repairs.
- Forms a durable, waterproof barrier once cured.
- Can be applied to wet surfaces, even underwater (Putty).
- Highly durable – resistant to chemicals, fuel, and impacts.
- Won’t run or drip (Putty).
- Ideal for overhead, vertical, and hard-to-reach repairs.
- Workable finish – can be molded and shaped (Putty), filed, sanded, tapped, drilled, and painted (Liquid & Putty).
- Heat resistant – withstands temperatures up to 550°F (Liquid) / 350°F (Putty) once fully cured.
- Weatherproof – designed for extreme indoor and outdoor conditions.
- Adheres to most surfaces.
- Fast setting – 3 to 6 hours (Liquid) / 15 minutes (Putty).
- Perfect for filling gaps and cracks.
- Exceptional for sealing holes (Putty).
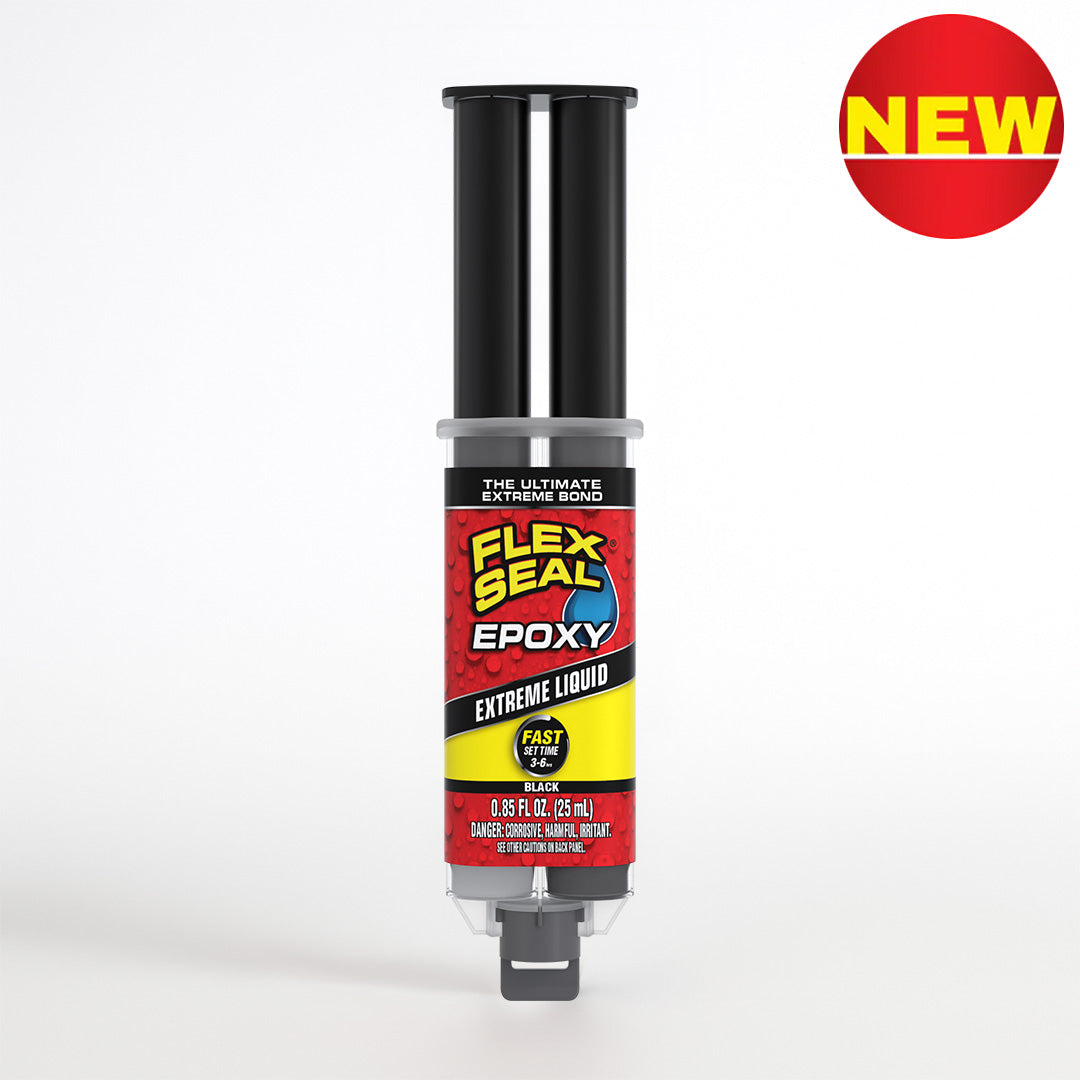
- Color when cured: Black (Liquid) / Dark Gray (Putty).
Excellent for: Automotive, marine and plumbing repairs; home, garage and outdoor projects; furniture, appliance, tool and equipment repairs; DIY, crafts and hobbies; emergency fixes; heavy-duty and industrial use.
Bonds to: Metal, copper, plastics (PVC, ABS), wood, concrete, stone, brick, ceramic tile, fiberglass, and more.
AVAILABLE IN:
- .85 fl oz syringe (Extreme Liquid)
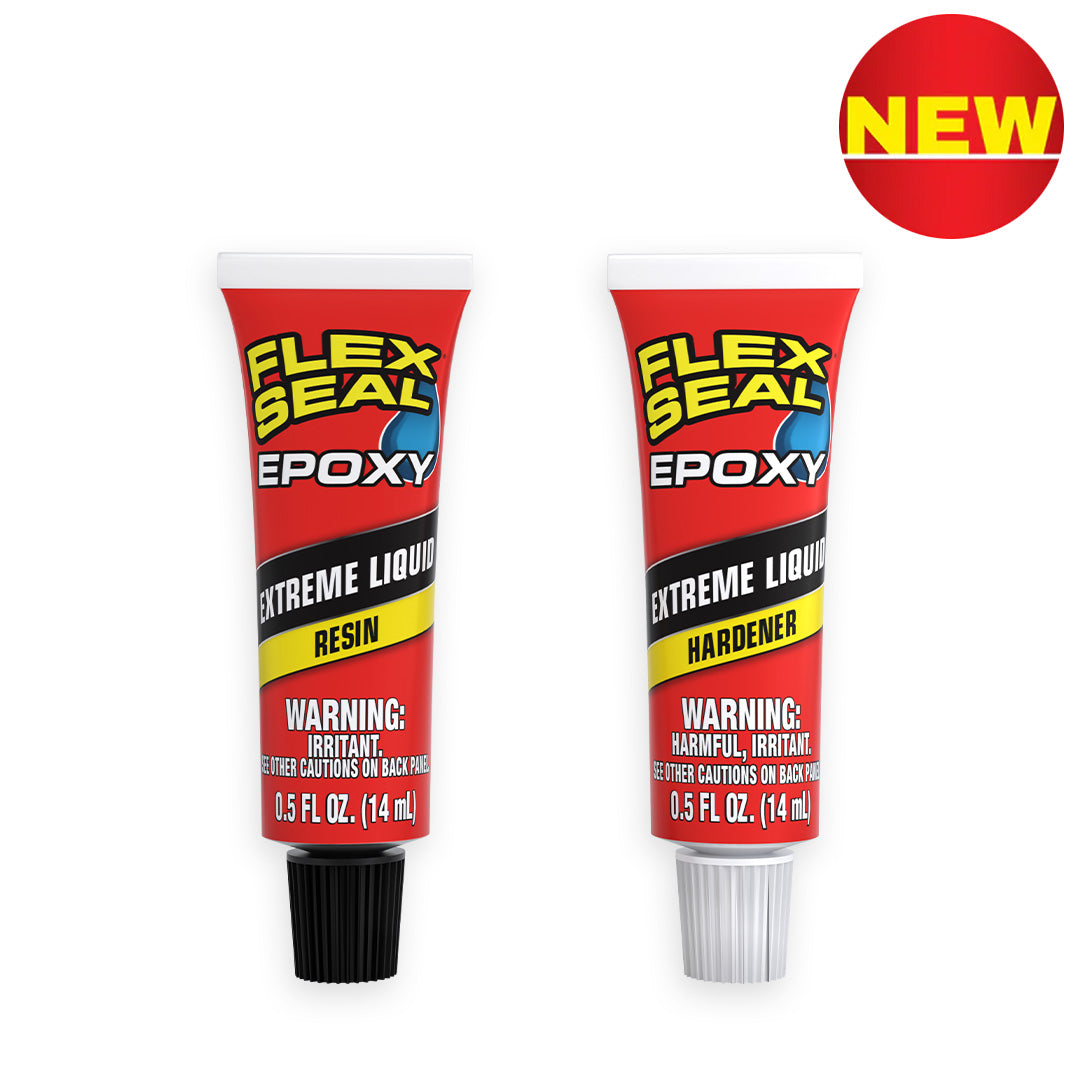
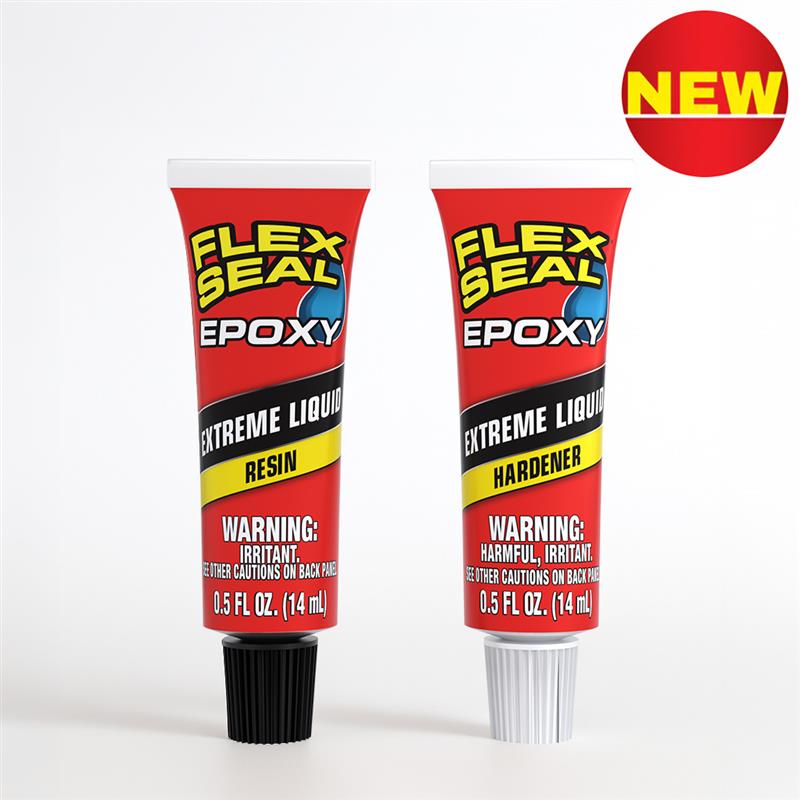
- Twin .5 fl oz tube package (Extreme Liquid)
- 2 oz stick (Ultimate Putty)
 WARNING: California Proposition 65 Notice.
*Lift and strength tests were conducted in controlled environments for demonstration purposes only. Attempting to replicate these tests is extremely dangerous and strongly discouraged. Do not attempt.
INSTRUCTIONS FOR SYRINGE:
MIXING STICK AND TRAY INCLUDED.
1. Prepare Surfaces: Protect your work area from spills. Clean and dry surfaces, removing dirt, grease, oil, and rust with sandpaper or a degreaser for the best bond. Do not use alcohol or any other cleaners that may leave a petroleum residue.
2. Dispense & Mix: Remove the "Snap and Save" cap from the syringe and save for later. Depress the plunger to dispense equal amounts of resin onto the included plastic tray or a clean, disposable surface. Mix until the color is uniform (approx. 1 minute).
3. Apply & Join: Apply the mixed epoxy to one surface, press parts firmly together, and clamp if necessary for heavy objects. Open work time is 25–45 minutes.
4. Cure: Sets in 3–6 hours at room temperature. Fully cures in 15–24 hours.
5. After Use: Pull the plunger back slightly, wipe the nozzle clean and replace the “Snap & Save” cap securely to prevent drying. Remove excess epoxy with a clean, dry cloth.
INSTRUCTIONS FOR TUBES:
MIXING STICK AND TRAY INCLUDED.
1. Prepare Surfaces: Protect your work area from spills. Clean and dry surfaces, removing dirt, grease, oil, and rust with sandpaper or a degreaser for the best bond. Do not use alcohol or any other cleaners that may leave a petroleum residue.
2. Dispense & Mix: Squeeze equal amounts of resin and hardener from each tube onto the included plastic tray or a clean, disposable surface. Mix thoroughly until the color is uniform (approx. 1 minute).
3. Apply & Join: Quickly apply the mixed epoxy to one surface, press parts firmly together, and clamp if necessary for heavy objects. Open work time is 25–45 minutes.
4. Cure: Sets in 3–6 hours at room temperature. Fully cures in 15–24 hours.
5. After Use: Wipe the tube nozzles clean and securely replace the caps to prevent drying. Remove excess epoxy with a clean, dry cloth and acetone or mineral spirits.
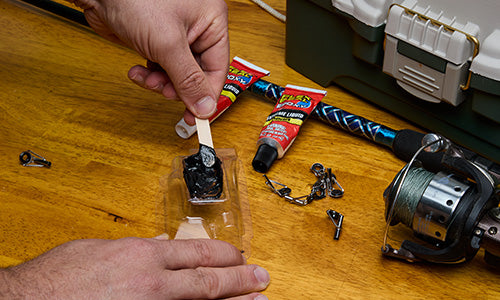
USAGE INSTRUCTIONS FOR PUTTY
1. Prepare Surfaces: Protect your work area. Clean and dry surfaces, removing dirt, grease, oil, and rust with sandpaper or a degreaser for the best bond. Do not use alcohol or any other cleaners that may leave a petroleum residue.
2. Cut and Knead: Cut off the desired amount of putty. Knead it by hand until the color is uniform (approx. 1 minute).
3. Apply: Press the mixed putty firmly onto the repair surface within 2–3 minutes of mixing. Mold and shape as needed to fill gaps, cracks, or holes.
4. Allow to Cure: Sets in 15 minutes, reaches maximum strength in 48 hours.
5. Finish: Once fully cured, the putty can be sanded, drilled, tapped, or painted to match the repair.