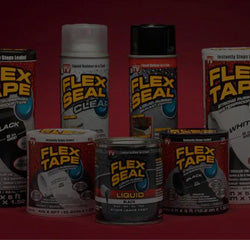
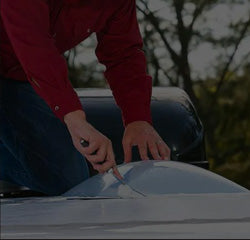
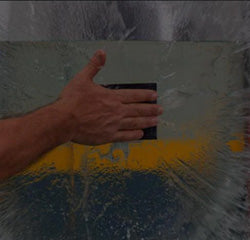
The one place water and bugs always get in? The spots you can't see. The gaps in your windowsill, the weather stripping of your front door, and the space where the walls meet the asphalt. Keep out what bothers you with the Windows to the Walls Bundle.
This Discounted Bundle Includes:
• 1 Flex Seal MAX , White, 17 oz. spray
• 1 Flex Caulk, White, 9 oz. can
• 1 Flex Seal Liquid, White, (16oz, 32oz, or 128oz)
Regular price: $55.97-$147.97 (save up to 10-15%*)
This discounted bundle includes:
FLEX SEAL® - The easy to use rubberized coating that seeps into cracks and holes, then dries to a watertight, flexible coating. Once dry, Flex Seal can be painted over. The easy way to coat, seal, protect and STOP LEAKS FAST!
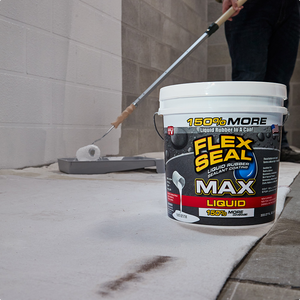
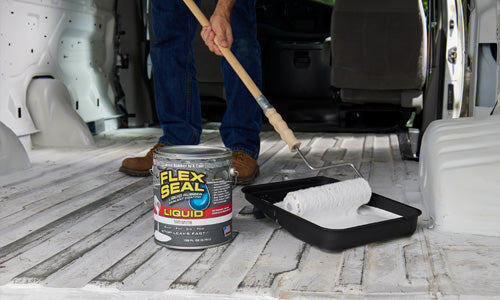
FLEX SEAL LIQUID® - The super thick rubberized liquid that you can brush, roll, dip or pour. It starts out as a thick liquid and dries to a strong, flexible, watertight, rubberized coating. Seals out air, water and moisture and is mildew, chemical and UV resistant.
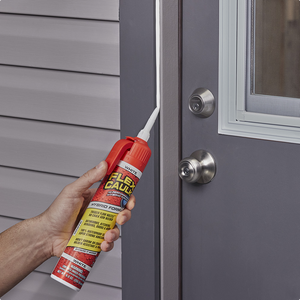
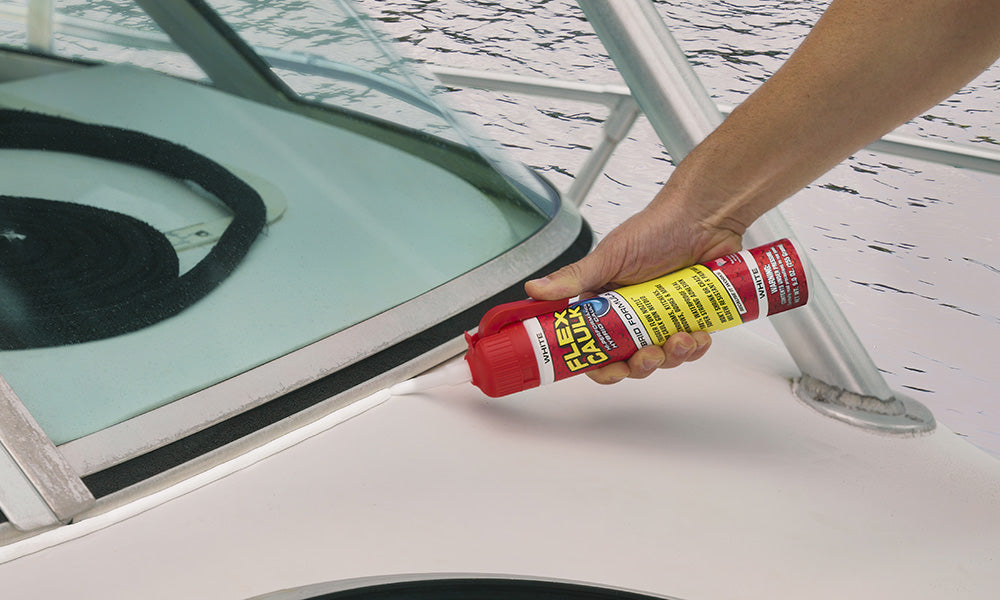
FLEX CAULK® - The latest innovation in caulking technology. It’s a high-performance, hybrid polymer caulk, delivered through our Adjustable Trigger Flow Nozzle™, which eliminates the need for a caulking gun and allows you to control the flow of caulk.
 WARNING: California Proposition 65 Notice.
*Savings based on price of buying bundle or kit components separately.
FLEX SEAL DIRECTIONS
Read entire can. Wear face and eye protection, protective gloves, and clothing. Make sure the surface is clean, dry, and free of grease, oil, and dirt. Shake well. Spray 8” to 12” from surface, using an even, sweeping motion. Apply multiple, even coats until ALL cracks and holes have been filled.
IMPORTANT: Allow 24 to 48 hours to dry before applying another coat.
Let it dry completely. (It usually takes up to 24 to 48 hours to fully cure.)
*Use Flex Seal ONLY in a well-ventilated area. When using inside, prevent vapor build-up by opening doors and windows. Ensure fresh air entry during application and drying.
*Do not use near heat, sparks, pilot lights or other sources of ignition.
FLEX TIPS:
Spray a larger area than area where the leak is and feather the edges. For best results, apply multiple coats rather than one thick coat and use at can temperatures above 60ºF. Make sure Flex Seal has filled ALL cracks and holes and is FULLY CURED before testing product. If light can pass through, apply additional coats.
FLEX SEAL LIQUID DIRECTIONS
Protective clothing is recommended prior to starting any projects, make sure the surface is clean, dry and free of grease, oil and dirt. You can either brush, roll, dip or pour Flex Seal Liquid directly onto surface.
Increase adhesion by etching surface with sand paper.
Allow each coat to dry completely (24 to 48 hours) before adding additional coats. Flex Seal Liquid fully cures in 48 hours.
Tips for Brushing/Rolling Applications
Brush or roll Flex Seal Liquid using an even sweeping motion. Apply several even coats until the surface has been completely covered and ALL cracks and holes have been filled. Always brush or roll over a larger area than just where the leak occurred.
Tips for Dipping Applications
Dip object into Flex Seal Liquid, making a slight swirling motion. Once you feel the surface has been fully coated, remove and let any excess liquid drip back into the can. Hang or clip object in the same vertical position as it came out of the can and let dry.
Once fully cured, you will have a super strong, no slip, rubberized coating on the surface.
Tips for Pouring Applications
Pour Flex Seal Liquid directly on the surface, allowing gravity to take the liquid into cracks, holes, and/or other hard-to-reach areas.Continue to pour until the surface has been covered and all cracks and/or holes have been filled completely.
When pouring Flex Seal Liquid into an area of depth greater than ¼ inch, allow each ¼ inch layer to cure completely before pouring the next layer. Allow at least 48 hours for liquid to fully cure.
WARNING: Avoid contact with eyes and skin. Gloves and safety glasses are recommended. KEEP OUT OF REACH OF CHILDREN.
FLEX CAULK DIRECTIONS
Area must be clean, free of dirt, grease, and oil. Adjust the flow setting to the desired amount. Hold at a 45° angle, push trigger down to begin flow of caulk. Keep pushing trigger while moving the nozzle across the area. Always use a smooth, even motion when applying the caulk. Flow setting and speed you move controls bead thickness. Material can be smoothed up to 10 minutes after application. Remove excess caulk with a dry paper towel, do not use water. Forms a skin in approximately 10 minutes, cures in 24 hours. After use, secure the “Snap & Save” cap tightly on the nozzle.

