Paquete de Grietas y Agujeros


- $54.99
$64.97- $54.99
- Unit price
- per
¡OBTÉNLO RÁPIDO! ESTE ARTÍCULO CALIFICA PARA ENVÍO RÁPIDO.
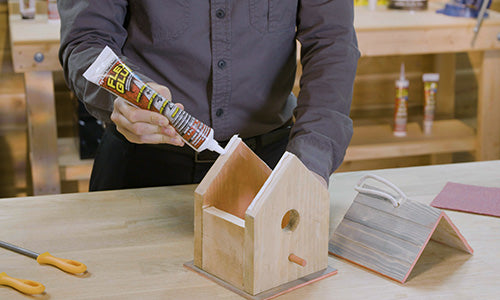
La temporada de tormentas está en camino. Es hora de prepararse y reparar antes de que lleguen las tormentas, porque si no encuentras todas las costuras y grietas, el agua de lluvia lo hará. Previene daños por agua en tu hogar con el Paquete de Grietas y Agujeros.
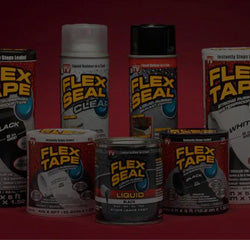
Este paquete con descuento incluye:
• 1 Cinta Flex de 4" x 5' Blanca
• 1 Flex Glue 6 oz Blanco
• 1 Flex Paste, Blanco Medio Cuarto, Cuarto y Max
Precio regular: $44.97-$149.97 (ahorra hasta un 13-27%*)
Este paquete con descuento incluye:
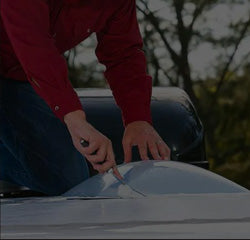
FLEX TAPE ® - Parche instantáneamente, une, sella prácticamente cualquier cosa. Se puede aplicar en superficies secas o húmedas y ¡incluso funciona bajo el agua!
FLEX GLUE® - El adhesivo super fuerte y resistente al agua con un increíble agarre y sujeción instantáneos. Se puede aplicar en superficies secas o húmedas, incluso bajo el agua. Libre de solventes, pintable y sin goteo para aplicaciones en altura.
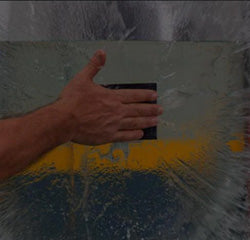
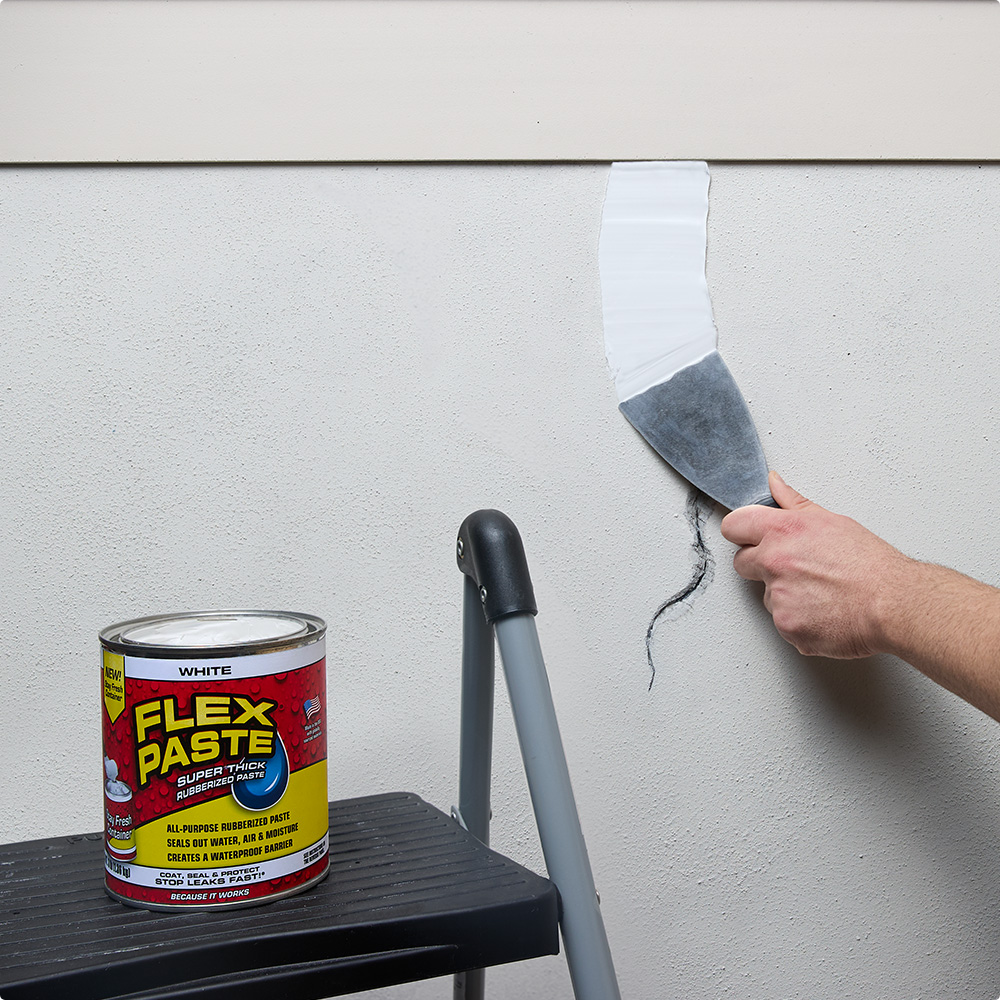
FLEX PASTE® - Pasta de goma superespesa que puedes extender, dar forma, moldear y sellar prácticamente todo. Comienza como una pasta espesa y se seca para formar una barrera fuerte, flexible e impermeable que se puede aplicar a todo tipo de superficies para sellar el aire, el agua y la humedad.
*Ahorros basados en el precio de comprar componentes de un paquete o kit por separado.
FLEX GLUE DIRECTIONS
1. Surface must be free of grease, oil and dirt.
2. Unscrew the nozzle and cut opening large enough to ensure the product can be properly dispensed.
3. Apply liberally to one side of the surface being bonded and apply firm pressure continuously for a minimum of 10-30 seconds for instant grab to take hold.
4. Fully cures in 12-24 hours and reaches maximum strength in 7 days.
5. Will reach maximum strength in 7 days.
FLEX TAPE DIRECTIONS
1. CUT: Leave backing on tape and cut to desired dimension. Make sure to use a high quality utility knife with disposable blades or a razor blade when cutting.
2. PEEL: Remove the backing from the tape.
3. STICK: Apply tape to a clean surface and press down firmly.
4. SEAL: Using your fingers, plastic squeegee or roller, press down firmly and remove any air pockets.
*Flex Tape is a temporary, emergency repair and is not meant to be a permanent fix. **Flex Tape may not bond to all hoses.
FLEX TIPS:
For maximum adhesion on porous surfaces, using a standard blow dryer will help the adhesives bond with the surface.Flex Tape’s bond will increase with time and pressure. Continued firm pressure will help increase adhesion. Once fully bonded, Flex Tape cannot be repositioned. Flex Tape adhesives may resist bonding to some plasticized or waterproof materials, siliconized, greasy, oily, dirty, or porous surfaces. Certain fabrics such as canvas, nylon, polyester, synthetics, cotton and some other materials may need up to 24 hours to reach maximum hold.
FLEX PASTE DIRECTIONSFor complete instructions go to: How To Use Flex Paste
Read entire label for directions and warnings before use.
Protective clothing & eyewear are recommended. Do not shake or stir product. Surface must be free of grease, oil & dirt.
For Flex Paste in the original (plastic) container
Remove silica gel packet and slowly lift protective foil from the surface. Do not discard foil or silica gel packet!
After each use, press the foil onto the center of the remaining material and continue pressing outward so the foil remains in contact with the material. As foil reaches the edge of the tub, press around the inside perimeter, keeping the excess foil up. Replace silica gel packet and secure the lid tightly.
For Flex Paste in the original stay-fresh container
Remove lid. Place lid on top between applications. Secure Lid after project completion.
Once opened, product will begin to cure. To slow the curing process, keep product covered (with lid) during use. Secure the lid and store in a cool dry place when done.
DIRECTIONS
• Using putty knife, trowel or similar tool, remove an even layer from the top surface.
• Do not scoop deeply into the tub as this may create air pockets.
• Apply a generous amount to the surface using a smooth motion.
• Etching the surface will increase adhesion.
• Sanding is not recommended – instead, smooth to desired finish or add designs to create unique artistic textures.
• Always make sure all cracks & holes have been completely filled & cured before testing.
CLEAN UP
Use a cloth with mineral spirits or acetone to clean your tools and work area. Do not use water.
Before reuse, remove any dried material that may have formed on the inside perimeter of the tub or on the surface. Store in a humidity-controlled environment.