


How To Repair RV Roof Leaks With Flex Seal

Roof leaks are one of the most common problems RV owners face. By inspecting your roof regularly, you can potentially find and fix a small problem before it becomes a huge one. In my many years as a full-time RVer, I’ve seen the kind of damage an untreated roof leak can do to an RV. Everything from mold to rust to extensive interior damage can sometimes all be traced back to a simple leak.
Keep reading to learn some of the ways you can identify and repair RV roof leaks.
RV Roof Leak Repair Guide
Not sure how to get started? Here’s a step-by-step guide I mapped out that I wish someone had given me when I began my RV journey.
1. Examine Your RV Roof for Leaks
When it comes to RV maintenance and repairs, the roof should always be inspected carefully and regularly. As you inspect your roof, I recommend looking for any areas with cracks, thinning, or worn spots. Also, be sure to check the condition of any sealants or caulk on the roof and around any vents, doors, skylights, roof seams and moldings.
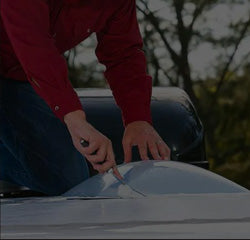
2. Prepare the Areas That Need Resealing
Before sealing your RV roof, use soap and water to make sure the area you’ll be working on is clean and free of any dirt, debris, or residue. This step is critical.
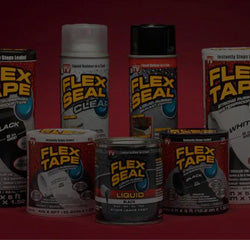
3. Choose the Right RV Roof Sealant for the Job
Now that your RV roof is clean, you’re ready to seal! But before getting started, it’s important to note that when it comes to RV roof leaks, there isn’t a one size fits all solution. Each leak is unique and depending on its size and location, it may require a specific type of fix. Not all RV roofs are made out of the same materials, so always test a small area when trying each product and use your best judgement when selecting a product for your unique RV roof repair.

RV Roof Leak Repair: Emergencies
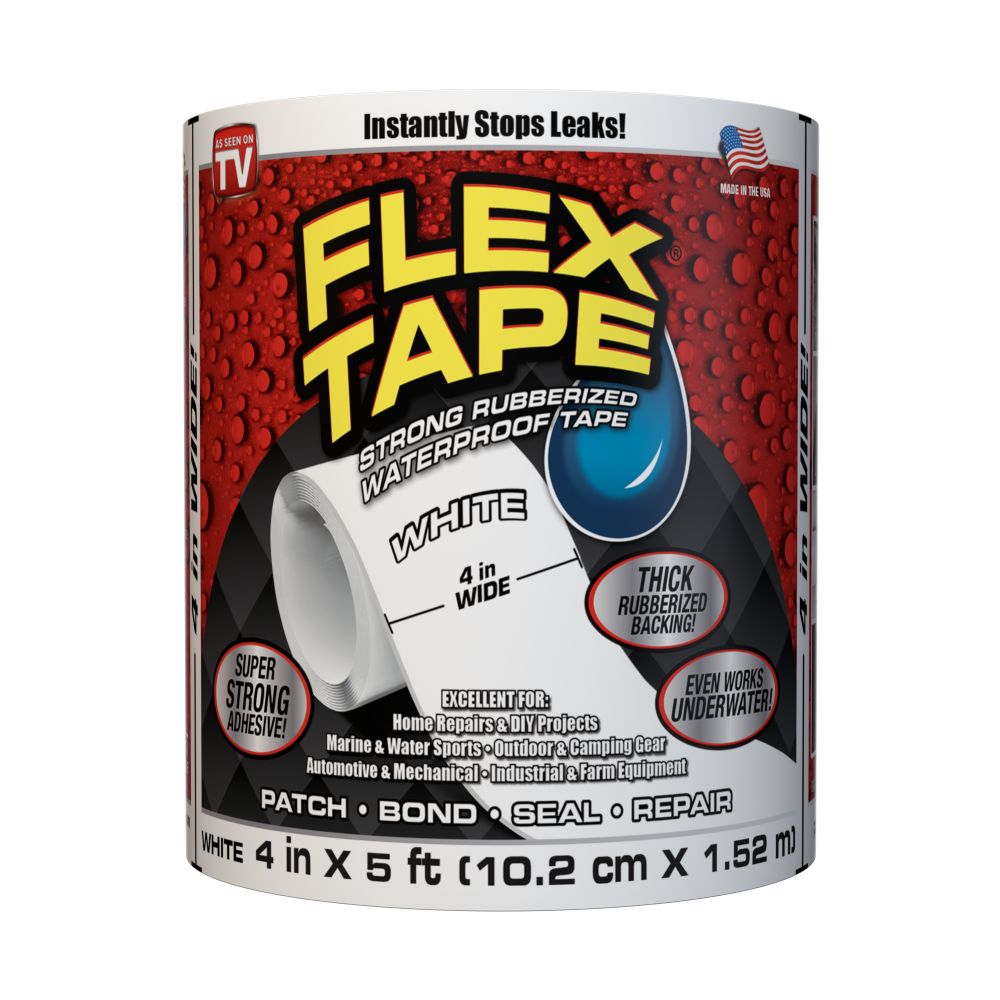
Recommended Product: Flex Tape
Benefits: Can be applied on a wet surface, making it perfect for a quick fix for smaller leaks during or after a storm.
Pro Tip: Make sure to use enough tape to conceal the hole or gap entirely, leaving about an inch of tape all the way around the affected area to get the best coverage. When ready to remove the tape, use Flex Tape Adhesive Remover.


RV Roof Leak Repair: Targeting Specific Areas
Recommended Product: Flex Shot
Benefits: Great for a longer-term solution. Commonly used around vents and other seams that need resealing.
Pro Tip: Hold the can at a 45-degree angle and apply directly to the problem area being treated. Flex Shot takes around 24-48 hours to cure and should be applied on a dry surface.


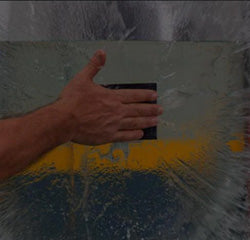
RV Roof Leak Repair: Larger Areas/Complete Reseal
Recommended Product: Flex Seal Liquid
Benefits: Can cover a large surface area and is UV resistant, making it perfect for a roof application.
Pro Tip: Before using this product, you’ll want to make sure the surface is dry. Be sure to properly test it on a small area first prior to applying it on a large surface. Multiple coats are encouraged! You should allow 24-48 hours for the product to cure before each coat.

Before Getting Started
Here are a few things to keep in mind before each repair:
• Read all directions and precautions on any of these products before getting started.
• Use proper safety equipment like gloves and protective eyewear as necessary.
• Use painter’s tape and cover the areas you want to avoid coating, especially hinges and other moving parts.
While no RV roof lasts forever, proper maintenance is essential for its longevity. With regular inspection and the power of The Flex Seal Family of Products, you can help extend your RV roof’s life and keep it going strong as you enjoy the great outdoors.
If you have any questions on how to best use Flex Seal products to repair RV roof leaks, you can always contact Flex Seal Customer Service for assistance.
By Asen Qvorov
Asen is a full-time RV traveler since 2018 and is the owner of the blog, Camper Life. He loves camping in nature, fishing, and spending time with his family. Striving to provide the most valuable information about campers and RVs, he shares everything he learned over the years.
Related Articles


CRAFTS & DIY PROJECTS


- Choosing a selection results in a full page refresh.