


DIY Holiday Doormat Tutorial
This DIY holiday doormat blog was written by a paid contributor. All photos taken by Briana Colangelo.
The holidays are right around the corner, and I love being able to welcome people into my home with a little holiday cheer. Creating an inviting welcome area sets the tone for the season, and a great place to start is by making a custom holiday welcome mat for your entryway!
This craft was so easy that I even made a few extra doormats to give as gifts!
Keep reading, and I’ll show you how to customize a doormat for the holidays with just a few materials and Flex Seal.


Get supplies for this project now at Lowe's.
Materials
● Plain doormat
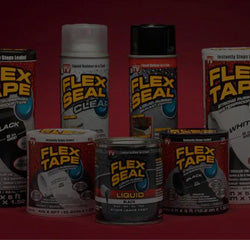
● 1 Flex Seal spray can, black
● Vinyl (any color)
● Cricut tools
● Painters tape
● Gloves
● Mask
● Eye protection
● Multipurpose plastic sealing wrap
Note: Before using Flex Seal products, read all directions and take proper safety precautions, such as being in a well-ventilated area and wearing protective gear while applying.
Steps
1. Make the Stencil

First things first, you’re going to need a stencil. Luckily, Flex Seal has an early holiday gift for you – FREE doormat stencils! Click below to download your favorite or better yet, get all three.

Once you download your stencil, you’ll need to add it to your Cricut design space. The images are already sized for a standard doormat, so they’re ready to print once uploaded. For this tutorial I chose the reindeer stencil, but you can go with whichever pattern you’d like.

Any type of vinyl will work for this project – just load the vinyl into your machine and print out the image. Once the image has been cut onto your vinyl, it's time to start the project!
2. Weed the Vinyl

Take your vinyl with the printed image and lay it somewhere flat. Next, take your weeding tool (the one that looks like a dental pick) and remove the first reindeer. Use the weeding tool to pick up a corner of the reindeer and carefully peel it back.
Flexpert Tip: It’s best to pull slowly to avoid ripping any other part of the vinyl. Also, make sure you do not remove the background.
Repeat this process for the other two reindeer.

3. Add Stencil to Transfer Paper

Now that the stencil is ready, it’s time to move it onto the transfer paper. A multi-purpose plastic sealing wrap is not only great for holiday leftovers, but it’s also fantastic for transfer paper!
Roll out a piece of wrap long enough to cover the entire vinyl area. If one piece doesn’t cover it completely, simply add a second piece. Then, smooth the plastic wrap over the vinyl with your hands. At this point, it probably isn’t sticking very well, but this is where your scraper tool will come in handy.

Take the scraper and gently smooth over the plastic wrap. Now you will start to see that it is sticking to the vinyl. Make sure to go over every inch of the vinyl, really focusing on smoothing down the edges of the reindeer. Take another piece of wrap to cover the remaining bit of vinyl and repeat the same process.

4. Remove Vinyl Backing

After the plastic wrap has been fully smoothed over the vinyl, it’s time to remove the vinyl backing from the image. Start by peeling back the top right corner of the vinyl/plastic wrap. Once the corner has been peeled, continue to pull it back very slowly.

Flexpert Tip: If the vinyl image isn’t sticking to the plastic wrap, go back over it with the scraper. If at any point a piece of your image is sticking to the vinyl backing, use your weeding tool to peel off the backing and guide it onto the plastic wrap.

Continue peeling away from the vinyl backing until it is completely removed and you are left with the plastic wrap and reindeer image.
5. Attach Image to Doormat

Gently flip over your image so that the reindeer are on the bottom and your plastic wrap is facing up. Position the image in the center of your mat, eyeballing it to ensure it’s even all around. Once you like the positioning, lay it flat on the mat and gently smooth the plastic wrap/vinyl onto the mat.

Flexpert Tip: Since the mat is so coarse, the vinyl will still move around and not completely stick to the mat. This is why it is super important to be gentle when applying.
After you have smoothed the vinyl onto the mat, it's time to remove the plastic wrap. Repeat the same process you did when removing the vinyl backing. Start at the corner and slowly peel back.

Flexpert Tip: The vinyl will want to stay stuck to the plastic wrap, so be sure to hold one hand on the vinyl as you peel. Save your wrap and set it aside.
6. Prep Doormat
Before we can spray our stencil with Flex Seal, we need to make everything is prepped and ready. I like to use painter's tape to secure the top and bottom of the stencil to the mat. Again, the tape isn’t going to want to stick, so just smooth it onto the mat as best you can.

Remember the plastic wrap you saved earlier? Use it to cover any exposed areas of the mat before spraying. You can secure the wrap with a piece of tape.
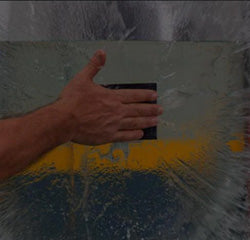
7. Spray Holiday Doormat with Flex Seal

Note: Before spraying Flex Seal, make sure you’re in a well-ventilated area and are wearing proper safety gear such as a mask, gloves, and eye protection.
Shake your can of Flex Seal and hold it about 8-12” away from the mat. Using a sweeping motion, begin spraying the reindeer image until it is fully covered in Flex Seal.

Flexpert Tip: Wait 24 hours for Flex Seal to dry fully before peeling away the tape and plastic wrap.

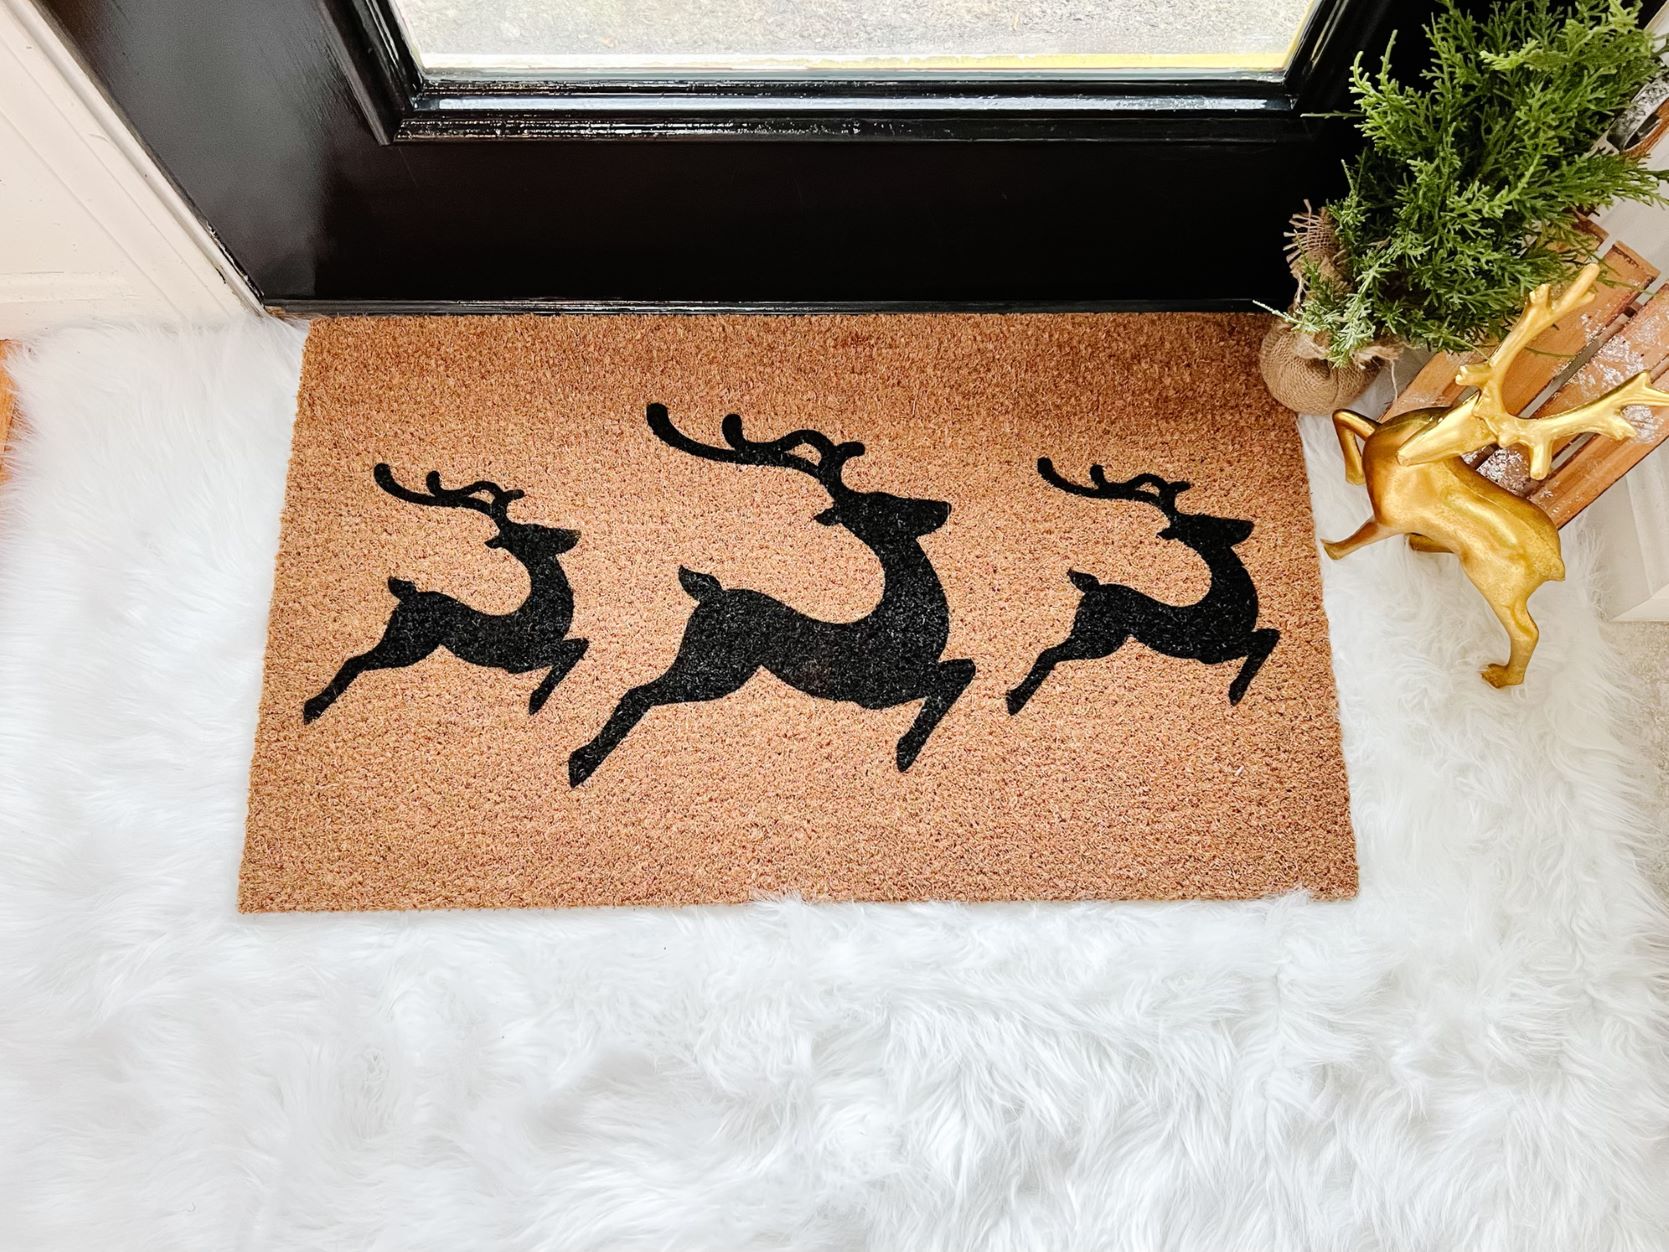
Once the Flex Seal is dry, go ahead and reveal your new holiday doormat!
This holiday welcome mat turned out so cute! Customizing a doormat with Flex Seal is such a fun way to get in the holiday spirit, and I hope you enjoy this project as much as I did. Happy crafting!
By Briana Colangelo
Bri is a self-taught DIYer who's had a passion for DIY projects since a young age. After buying a 1958 cape home, she has been slowly transforming each room in her house. Bri also shares her designs and DIY projects as a content creator on Instagram and TikTok @d.i.y.bri.
Related Articles


CRAFTS & DIY PROJECTS


- Choosing a selection results in a full page refresh.